Systems for Success Part 3: Managing Student Work
“Start by defining HOW you want to manage student work in a way you can be consistent with, not the way you “should” be doing it.”
Welcome to the third system you need to create to set yourself up for a successful school year!
(Missed System 1 and System 2? Check them out before reading about System 3. )
The third system you need to create is around managing student work. Managing all the papers that come across our desks every day can feel extremely overwhelming! There are SO many steps that go into the entire process from start to finish. Creating a system that deals with each part of the process can streamline your grading, clear up clutter, and provide your students with authentic feedback.
If you are looking to save precious time, provide authentic feedback, keep yourself organized, and use editable, print-and-go resources, you want to check out the complete managing student work bundle!
Inside, you’ll find 9 products that you can truly customize to your classroom. Click here to grab your copy!
1. Define
When defining your system of dealing with student work you want to create something that is EASY for students to follow and predict and EASY for you to manage.
Predictability for your students will cut down drastically on wasted time, lost papers, and confusion. You also wants to create a system that is tailored to your classroom set up and personality to help ensure success as you continue to be consistent with what you’ve created.
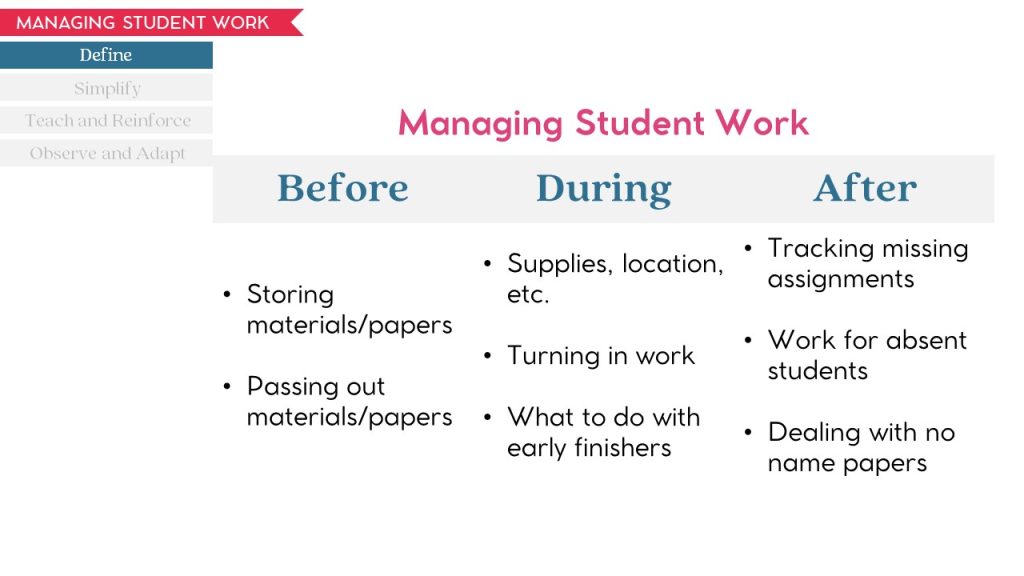
To help define your system, you need to think about how you are going to deal with all aspects of student work. You want to think about the entire process from getting your paper copies to passing out and collecting assignments to grading work and tracking missing assignments.
Thinking through it in this way helps you look for any gaps or holes in your system.

You’ll start by deciding how you want to store papers and copies that students will need to access. One easy way to store paper copies is to get these 3-drawer containers from Sterilite. They allow you to quickly label each drawer and store quite a few papers inside.

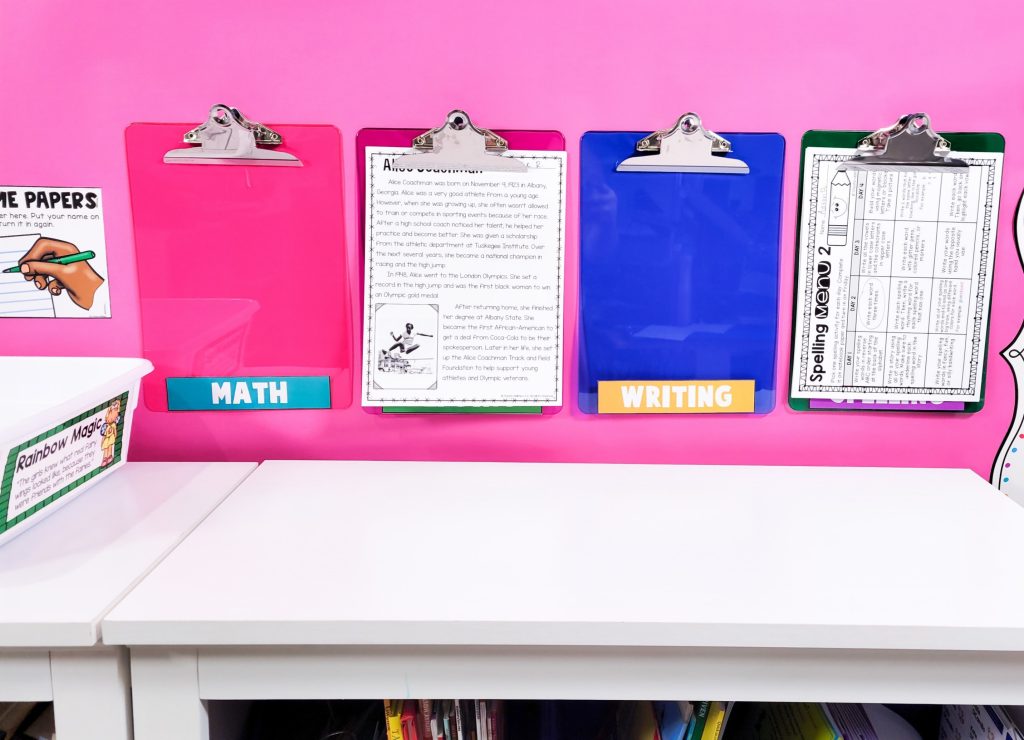
Another way to store copies that works well if you don’t have a lot of counter space is to use clipboards. You can use a pushpin to attach a clipboard to a bulletin board. Then, put the copies your students might need clipped on the front. Absent students will know to go to the clipboards to grab any papers they might need.
After deciding how you want to store paper copies, you want to plan out how to get papers to students. Ask yourself the following questions:
- Do I want to be in charge of passing out papers?
- Will I use students to pass out papers?
- Will I use a table leader as a paper passer or use a rotating classroom job?
- Do I want students to be in charge of passing out certain papers and I’ll pass out the rest?
I usually used a combination of student helpers and myself to get papers to my students. Using student helpers frees up your time so you can move on to other important tasks.
After determining how you want to get papers to students, you want to develop an effective way for students to turn in their work.
My absolute favorite system to use is Wall Folders. If you want to read about how to use them in detail, click here or on the picture below.
You can also use bins for baskets for students to turn in their work. This system keeps things organized and keeps piles of papers off your desk.
Next, you’ll want to plan for dealing with absent students and no name papers.
I liked to have my students highlight their name before turning it in because that caught a lot of forgotten names.
Finally, come up with activities that students can do if they finish early. That way they are still working on a task or activity that keeps them engaged while other students can finish at their own pace.
Using something like a May Do/Must Do or Ketchup and Pickles board can help keep everything on track.
Boards like these also give students choice in the order in which they complete the activities. This increases motivation and engagement.
2. Simplify
After you have decided how you want to create your system, it’s time to simplify. Think through the following questions:
- Is there a way I can cut out the number of steps it takes to do something?
- Do I have the expert blind spot? Am I assuming my students know something they actually don’t?
- Can I cut out any steps or micro routines to make it simpler?
The system that you can stick with the most consistently is the one that is in its simplest form.
Another way to simplify is to put your routines and procedures into kid-friendly language. One idea I love is the Pack and Stack anchor chart. It is short and clear, and it rhymes.
3. Teach and Reinforce

You’ll want to anticipate spending a lot of time at the beginning of the year going over the routines and procedures. This investment will come back to you as your classroom will run more smoothly throughout the year.
Make sure to practice and reinforce the routines and procedures in this system throughout the year. This will help ensure you have everything running smoothly.
4. Observe and Adapt
Finally, it’s time to observe and adapt your system in action. This is when you’ll look for gaps or problem areas that you can tweak to improve. Remember, you want to make a system that works for YOU.
Any system you create is not set in stone. It is fluid and dynamic, which allows you the freedom you need to make it the best it can be.
If you want to grab a FREE copy of the routines and procedures checklist, click here or on any of the pictures in the post.
If you are looking to save precious time, provide authentic feedback, keep yourself organized, and use editable, print-and-go resources, you want to check out the complete managing student work bundle!
Inside, you’ll find 9 products that you can truly customize to your classroom. Click here to grab your copy!
Stay tuned for the next four systems for success coming your way soon!
Blog Categories
Meet the author


