How to Easily Differentiate Your Math Centers
Differentiating your math centers can seem like a daunting task. How are you supposed to differentiate each center, each week, for each student? It’s actually easier than you think.
This is the second of a series of 4 posts on math centers. If you want to learn more about math centers, check out the first post in this series, 5 Steps to Setting Up your Math Centers
I also have a webinar that walks you through 6 easy steps to effective math centers in your classroom. Learn how to implement differentiated math centers in your room in an organized and manageable way – absolutely FREE! Learn more here.
Ability-Group Your Students
The first thing you need to do is learn your students’ levels and group them appropriately in flexible, small groups. My district had assessments that we used for pre- and post-assessments. This gave me a solid level for my students on a given topic.
I ability grouped my students based on the score from these assessments. It’s important for these groups to be flexible. If a student scored really low in geometry, but really high in measurement, they would be put in different groups that fit their needs for those centers. Also, I found that there was sometimes a discrepancy between a student’s abilities and how they scored on the assessment for a given topic. If I found a student was actually higher or lower than where they scored on the test, I would move them to a more appropriate group.
Color Code Your Groups
I had four rotations in my room during centers. I called this time Power Hour. Each group used a different color dot depending on their levels. Pink was the lowest, green was the middle, and orange was high. I placed colored dots on the outside of their math journals. Then I also color coded each of the four center rotations. That way, the colored dot on my students’ math journals would tell them what materials they needed to grab from each center. When students were done with a given activity, they put all of their materials back in their folder or envelope. Not only did this setup help keep each center organized, it also helped make sure no manipulatives or game pieces were lost.
My students were used to this system from our guided reading rotations and it worked well.
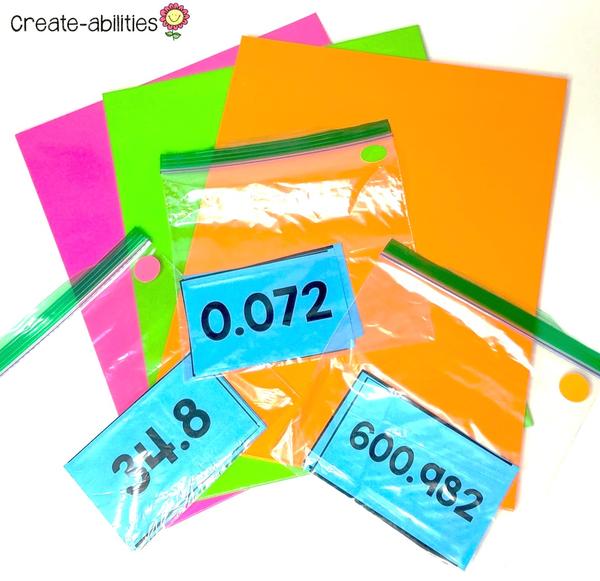
Color Code Your Center Activities To Match Your Group Levels
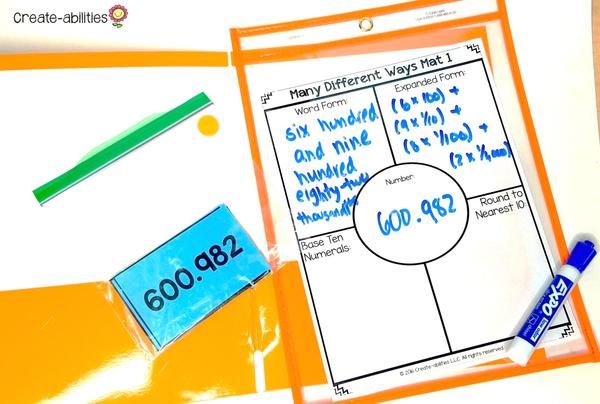
Once students got to a center, they would find a bin or envelope with the center materials. They would pick the materials and folder that matched the colored dot on their math journals. As you can see from the picture, the students all played the same game or did the same activity, but the numbers or dice they worked with varied depending on their level. I only had to create one game and then a set of materials that matched each group’s needs.
It’s also easy to differentiate using dice. There are so many different options to use and it automatically differentiates the game for you. (Find the different-sided dice here, the 6-sided colored dice here, and the foam cubed dice here).
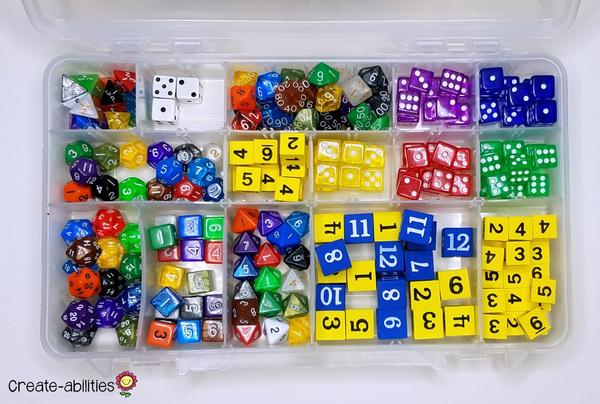
You can match the colored dots for each group to the correct dice so there is no confusion on what dice to use. I didn’t have pink dice and used purple for my lowest group and it still worked great.
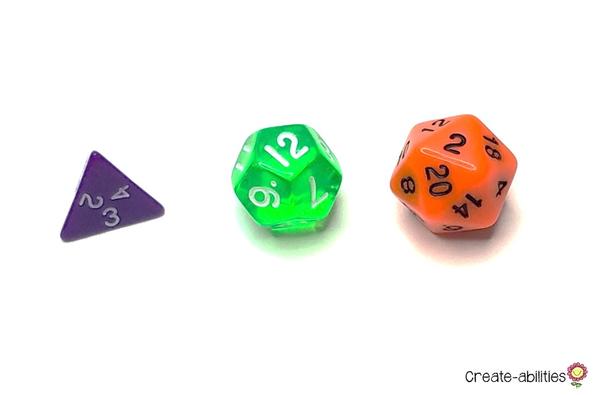
Don’t be overwhelmed by trying to differentiate your math centers. By using the dot system with different-leveled cards or dice, your games are automatically setting up each level of student for success.
I also sell print-and-go centers for grades K-5 so you don’t have to worry about coming up with the activities and materials all on your own. Browse Our Centers Here
PEACE, LOVE, AND STICKY NOTES,

**Disclosure: Some links in this content may be affiliate links, which means that I may get a commission if you decide to purchase anything. I sometimes use affiliate links in my free content to help support my efforts to bring you quality ideas and resources. You will not pay more when buying a product through my link. In fact, in some cases, you may be paying less! I only recommend products that I use and love myself, so I know you’ll be in good hands.**
Blog Categories
Meet the author


