13 Classroom Desk Arrangements To Try In Your Room
When it came to desk arrangements in my room, I was constantly at two different ends of the spectrum. I either loved an arrangement and used it all year, or I kept trying to switch it up and was never satisfied. So many factors go into a seemingly simple part of your classroom. That years group of kids (including their personalities, behaviors, and mannerisms), the amount of new material you need to store, how many kids you have, what other furniture is inside your room and more.
Desk arrangements are important in organizing and managing your classroom. How you set up your desks affects:
- student behavior
- student learning
- the mood and tone of your room
- PIG activities (partner, individual, group)
- transitions
- your SANITY
Because of this, I have create 13 different desk arrangements that you can try. Pick the one that suits your style, your needs, and your personality. As always, pick what works for you and tweak what doesn’t.
How Can I Download These Arrangements?
To get your free download of desk arrangements, we can email it to you, or you can download it from the ‘Files’ section of our Create-abilities Teacher Community Facebook Group. If you haven’t joined the group yet, it’s a great way to stay up-to-speed on everything Create-abilities, including product announcements, sales, freebies, live broadcasts, giveaways, and more!
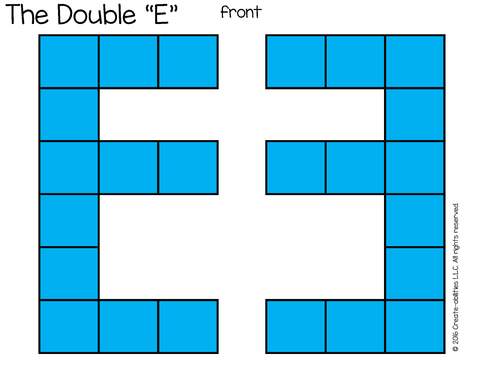
1. The Double E
This is the setup that I used the most. I loved being able to walk between each row and check on my students. It was also easy for group work. However, when I had 32 students, this arrangement was virtually impossible because of space.
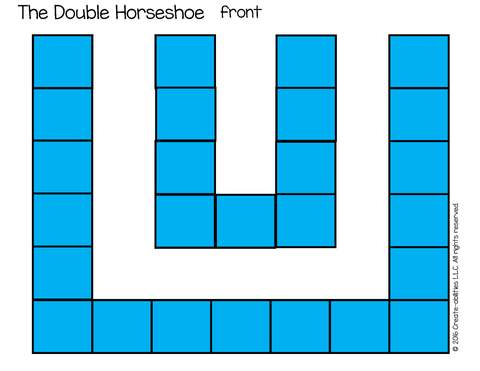
2. The Double Horseshoe
This is another arrangement that I really loved. I like being able to easily access each desk and move between the rows.
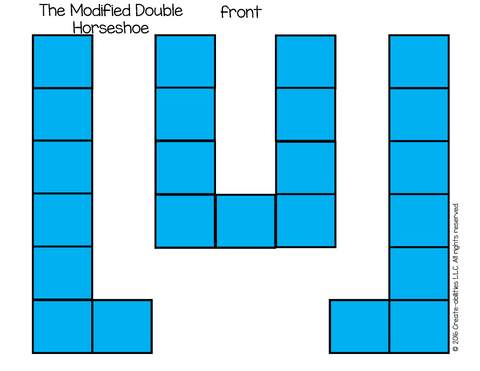
3. The Modified Double Horseshoe
I also liked this set up for flow and movability. If you don’t have very many students in your room, this is a good choice.
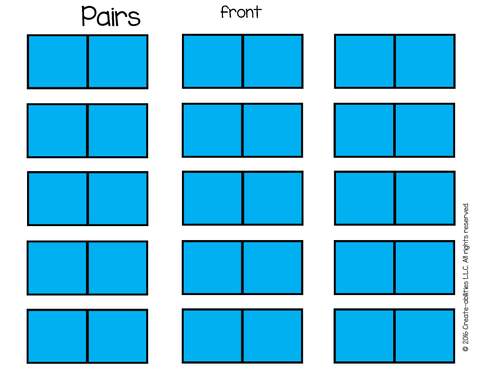
4. Pairs
An oldy but a goodie. This setup works well for partner work. You can also do groups of three and cut out one of the rows.
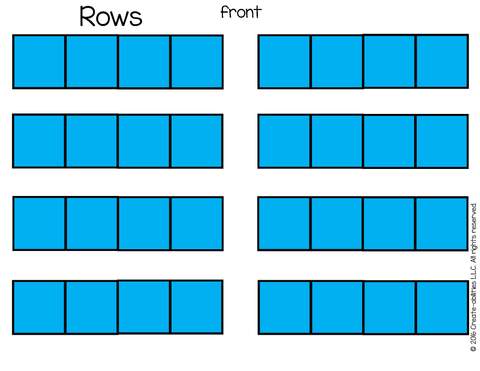
5. Rows
A variation on the pairs arrangement. This works well for larger class sizes. The students also have more choices in working with pairs or small groups.
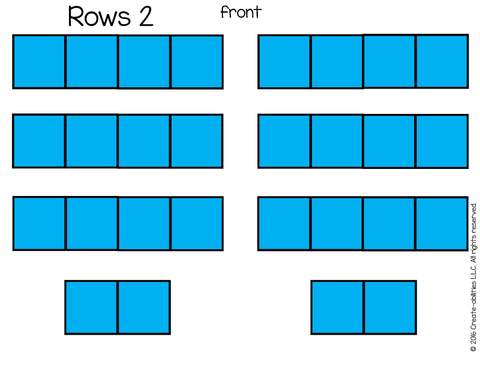
6. Rows 2
This is an oldy but a goody. Each child can see the board from this arrangement. I also like that there are options for placing only two students together at the back. This helps certain students who can only sit by certain kids or helps students who can get overwhelmed sitting by a lot of other kids. It’s also nice to offer more support to the groups of two as needed.
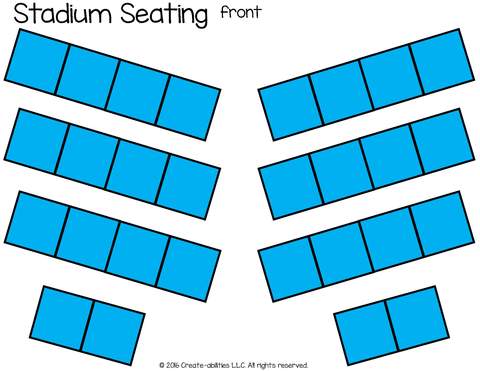
7. Stadium Seating
I like this option because everyone can see the board. It also allows enough space for students to get to their desks from any side.
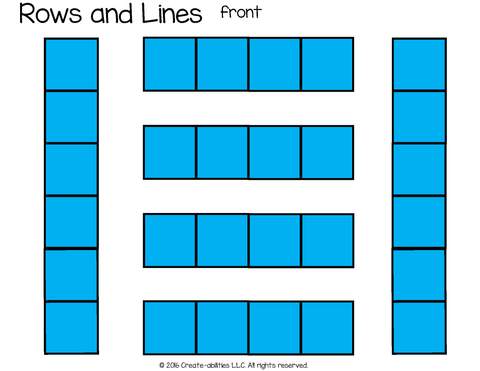
8. Rows and Lines
This is a fun way to position students. It works well for group work as well as partners or teams. The downside is some of your students may have trouble seeing the board from the vertical rows near the back.
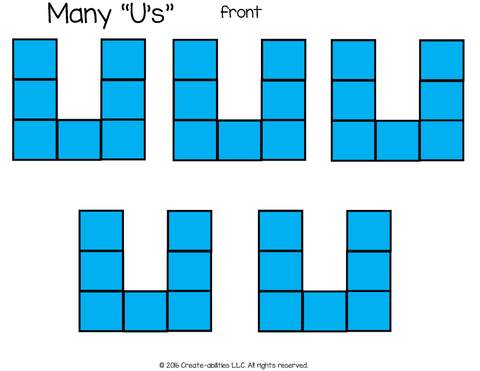
9. Many “U’s”
This is another one of my favorites if you have a wide room. The u’s allow all the students to see the board and is great for group or team work. It also frees up more floor space around the classroom.
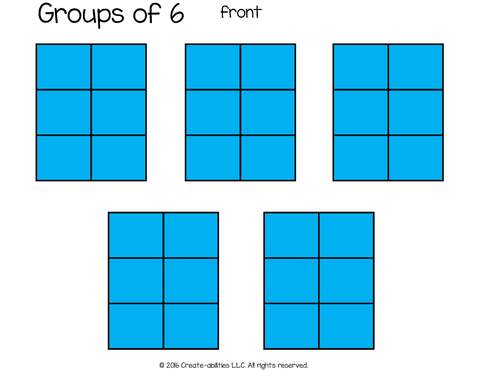
10. Groups of 6
This is another tried and true arrangement. It works well for group or team work. It also helps save space if you don’t have a large room.
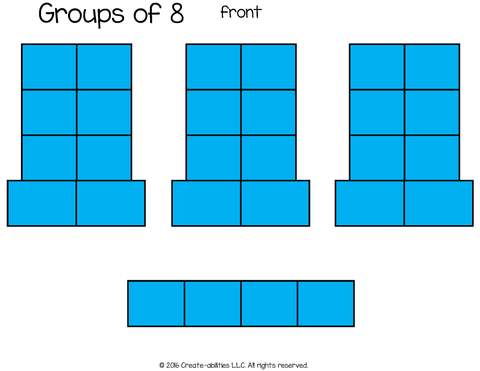
11. Groups of 8
I really like this arrangement and also works well if you don’t have a large room. You can still walk around and access each student’s desk easily and it makes group or team work easy to manage.
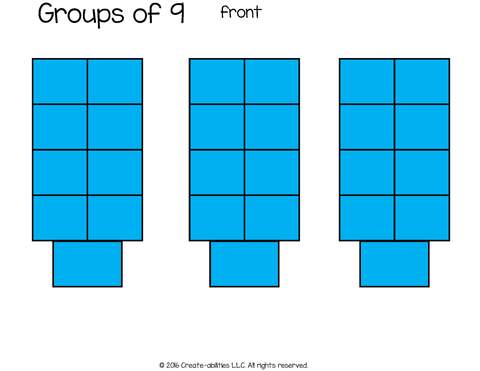
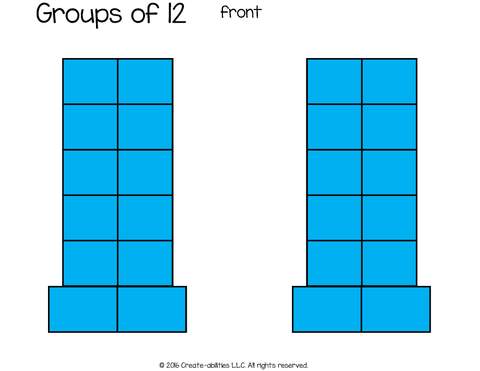
12. and 13: Groups of 9 and 12
These two arrangements are a great way to include a lot of desks in a little area. They also make walking around to each student’s desk easier.
PEACE, LOVE, AND STICKY NOTES

Blog Categories
Meet the author


