
Packing up your classroom at the end of the year can feel overwhelming, but it doesn’t have to be! All you need to do is create a system for managing and organizing all of your materials that can be followed year after year.
I’ve created an 8-step system that you can use to make sure your end of year packing goes smoothly!
As always, take what works and tweak what doesn’t!
Start by creating a plan for your classroom. This means you will mentally walk through your room, and the steps you want to take to pack it up, before you begin. As you mentally walk through your room, create a checklist of everything you want or need to get done. That way, you have everything you need in one place. One easy way to do this is to separate your classroom into zones. Then, walk through the steps you’ll need to take in each zone to pack it and clean it effectively.
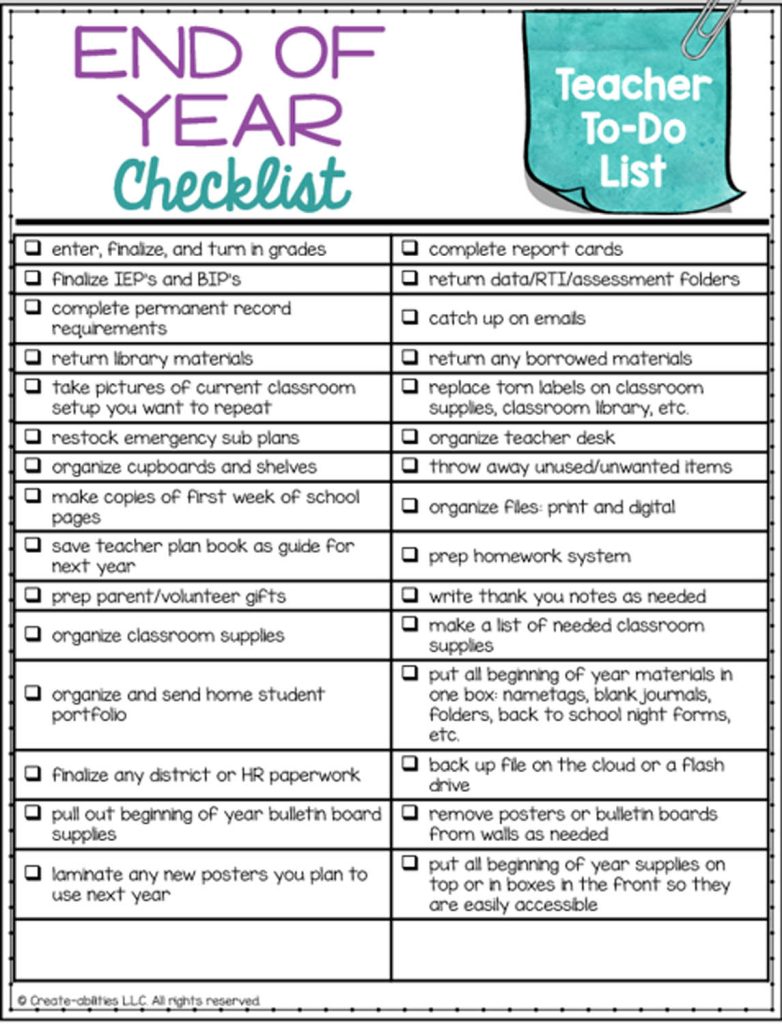
Having a plan in place before you being helps cut down on wasted time and overwhelm. (If you want to download this editable checklist and the packing labels you’ll see later in this post, click here.)
Sometimes when I would pack up my room, I’d bounce around from area to area. Never fully finishing one before moving on to the next. This extended the amount of time it took me to pack up my room and it meant I usually ended up throwing things from all over my room into my boxes.
I quickly learned that packing up in zones is the easiest way to stay organized and save time.
To pack up in zones, you’ll want to pick one area of your room. This could be your teacher desk, guided reading materials, classroom library, student supply center, etc. Then, you’ll want to pack up everything in that zone before moving onto the next. Not only does this ensure all the materials from one zone are together, it cuts down on wasted time wandering from zone to zone and back again.
As you are packing up your zones, remember this rule of thumb: what you need first, goes in last. This tip is all about thinking ahead to next year. What do you need to get you started on setting up your classroom at the beginning of next year?

For example, if you need to start by setting up your student supply center to make space for other materials, put the student supplies in last so they are on top and easy to grab. Or maybe you need to set up your student desks so you have room to walk around and need to put nametags and first day materials on top. Whatever you want to start with, make sure it goes in last.
As you are packing up in zones, use distinct tape for each area.
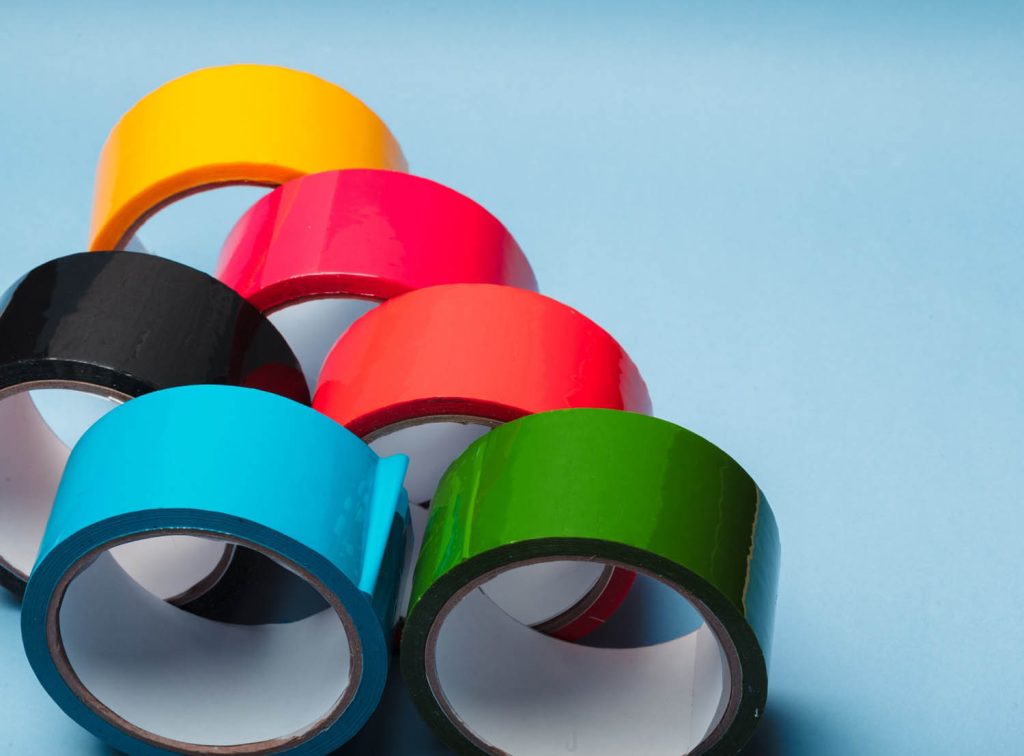
For example, if you’ve packed up your guided reading materials into boxes, label them all with blue tape. That way, you know immediately what is inside just by the tape color.
Sometimes boxes and materials get moved around as the custodians are cleaning rooms. This makes sure you can move boxes to the correct area before you begin to unpack them. It also makes sure you have all the materials from each zone together.
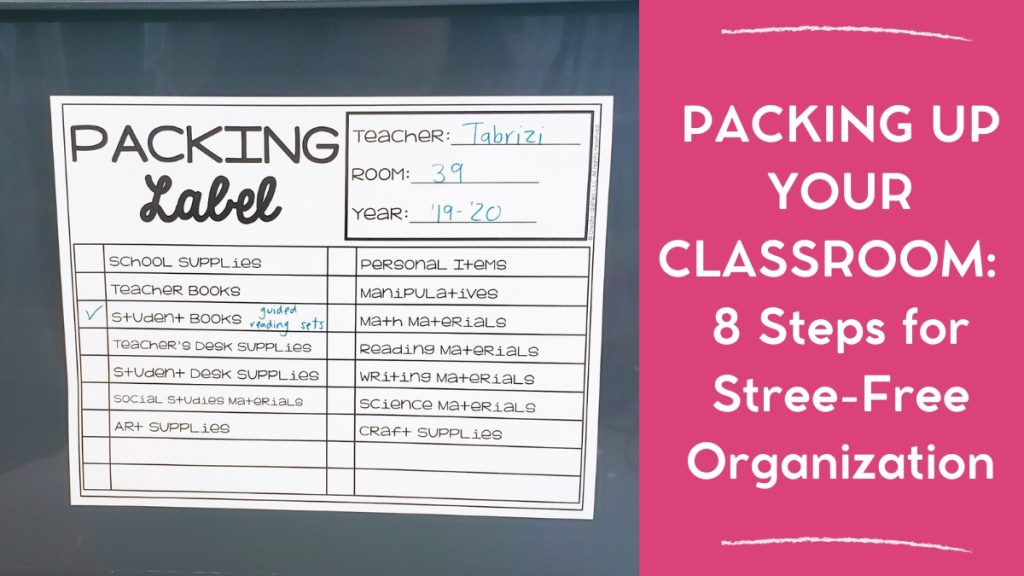
In addition to distinct tape, you should also label each box with what is inside. This gives you a quick overview of the materials and helps you know exactly where to put them.
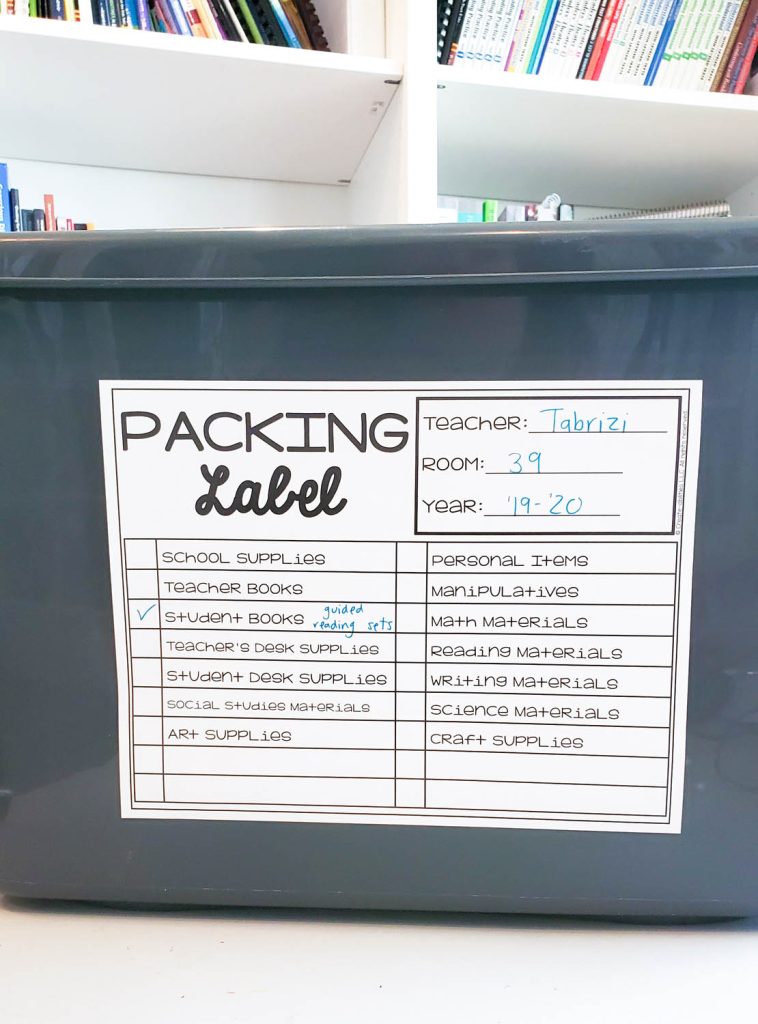
I like to be able to quickly look at each box and know exactly what is inside. Otherwise I do the “What’s inside this box again? Let me open it and check.” dance about 6,000 times.
Pro tip: print these labels on full sheet labels so all you need to do is peel and stick!
As you pack up, clean up each spot as you go. But SKIP THE DEEP CLEAN. The deep clean can be done with the help of your students during the last few days of school. Clean up whatever makes sense for each zone in your room.
Try to keep your materials together as is as much as possible. For example, instead of packing up your classroom library books separately from the bins they are stored in, put the bins full of books directly into the box. That way when it’s time to unpack, all you need to do is pull it out and put it on the shelf.
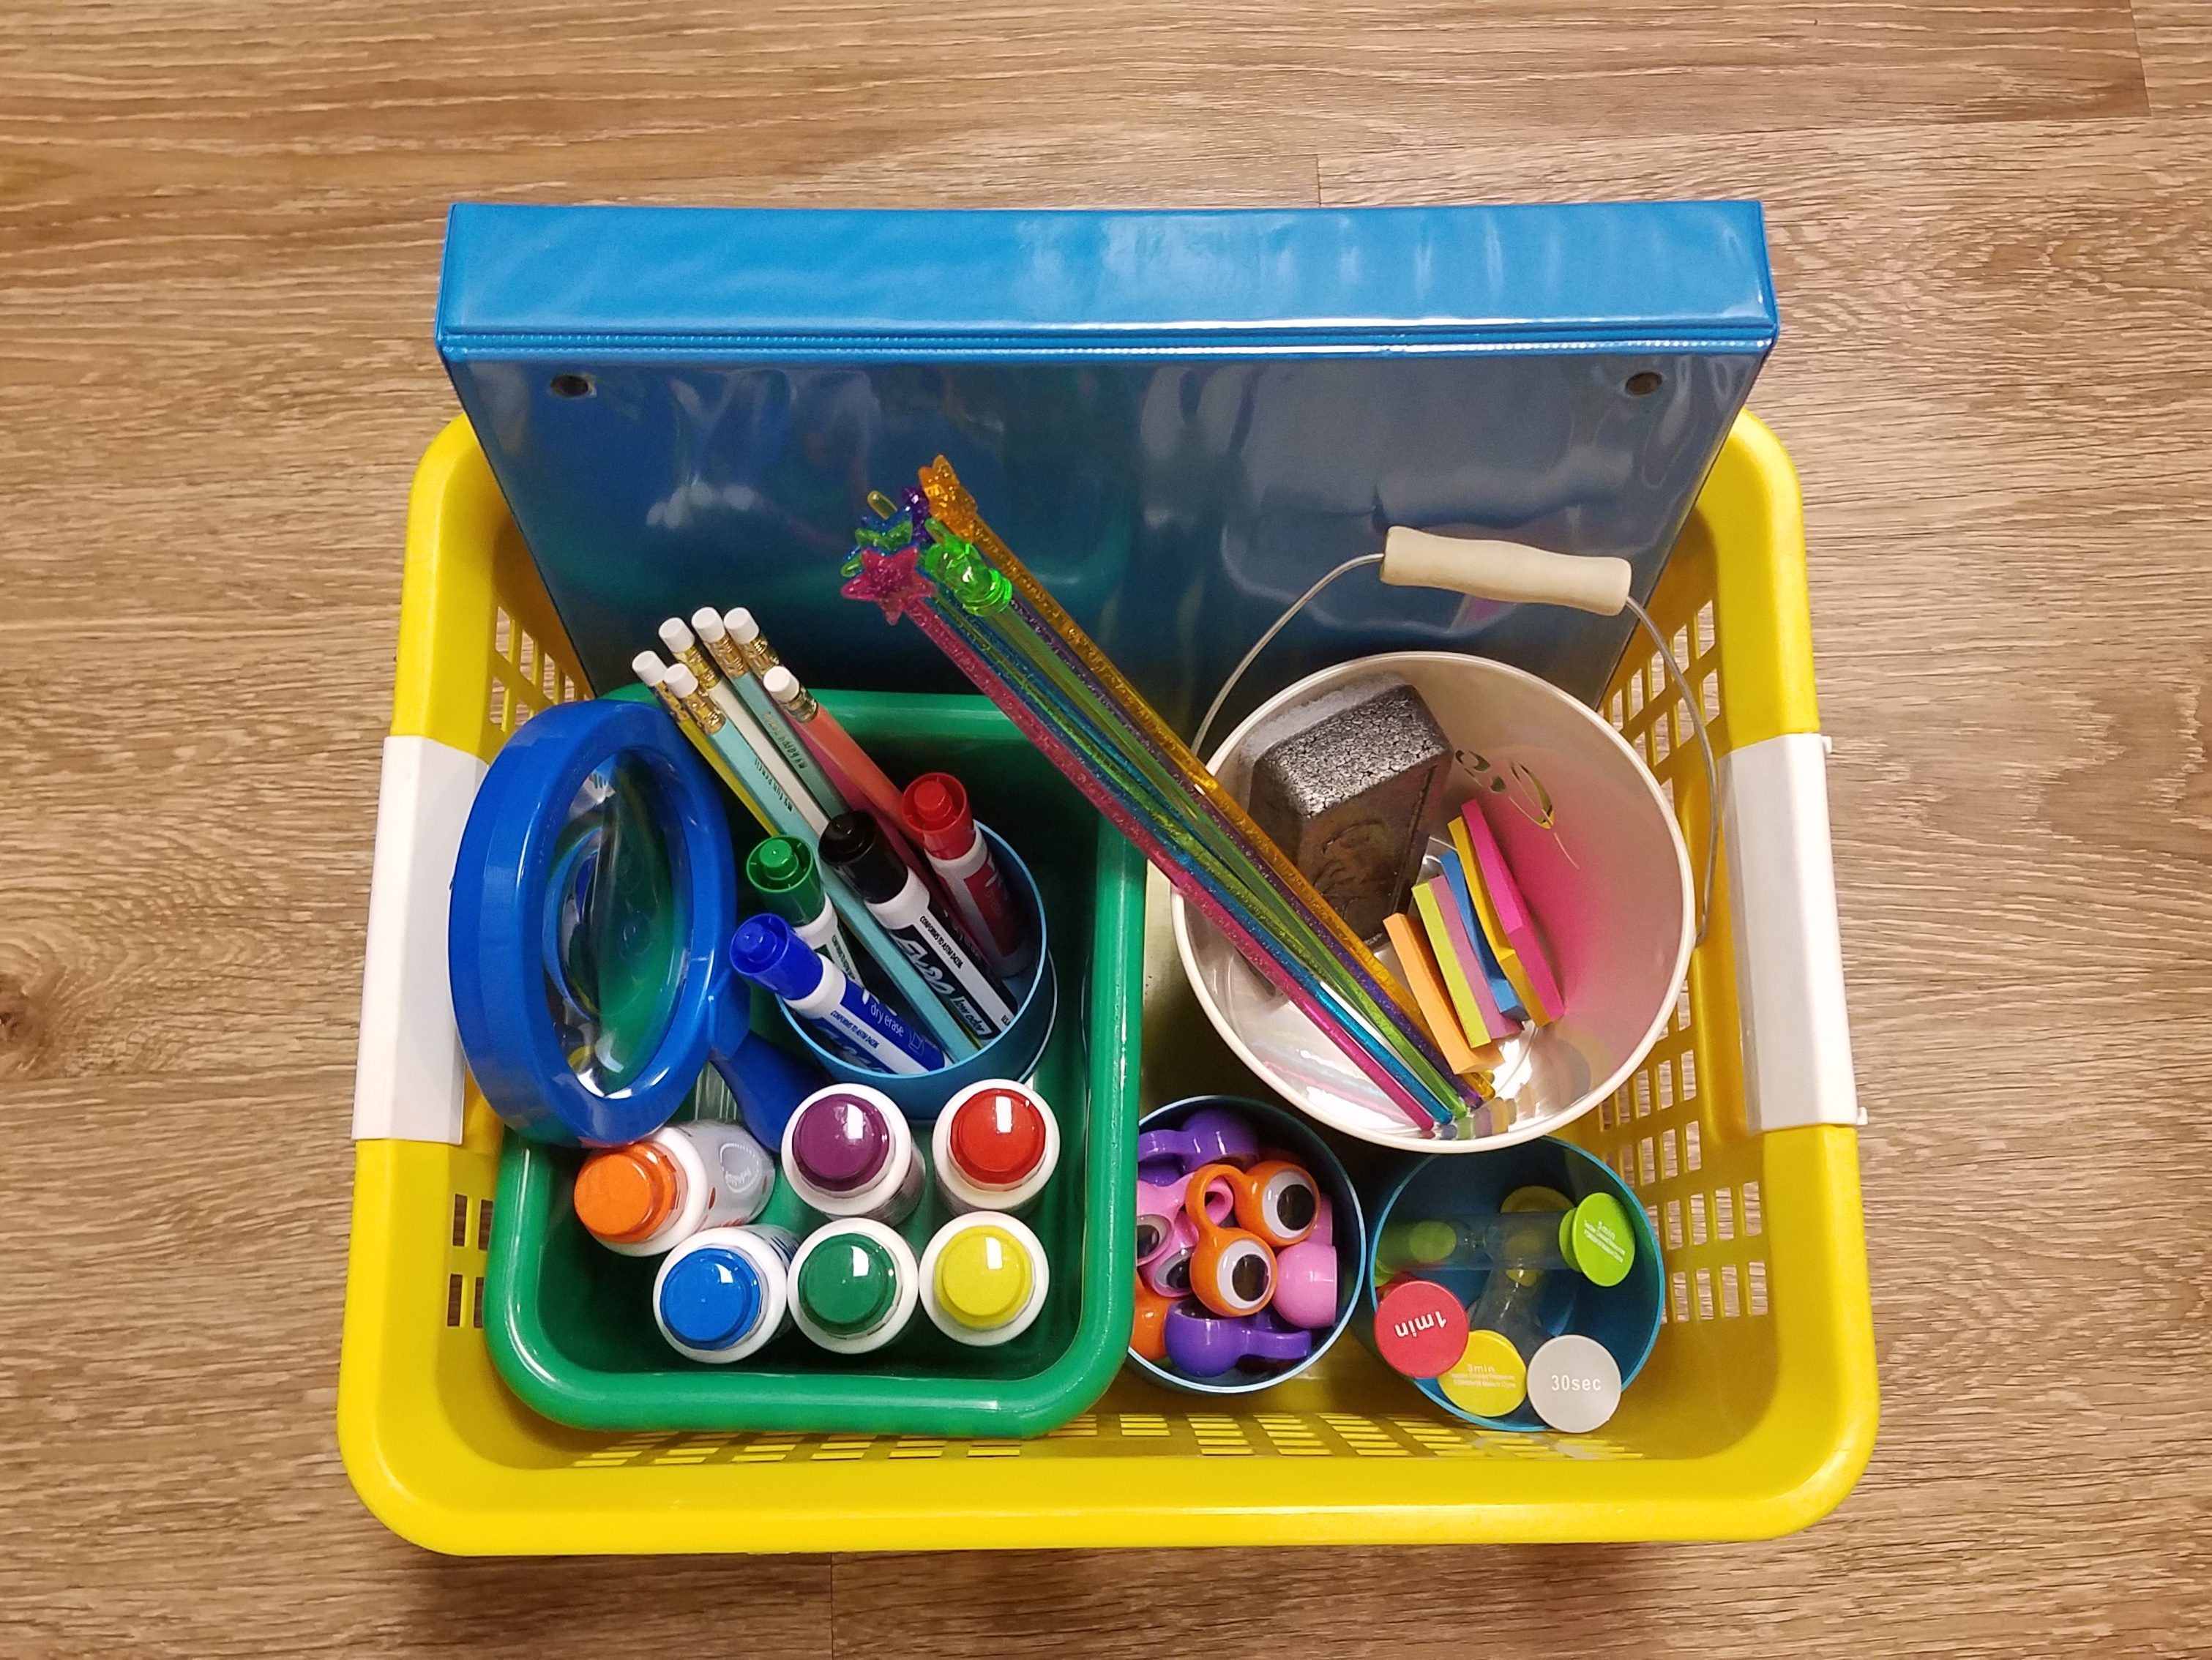
You can also do this with reading materials, center materials, student supplies, or teacher supplies.
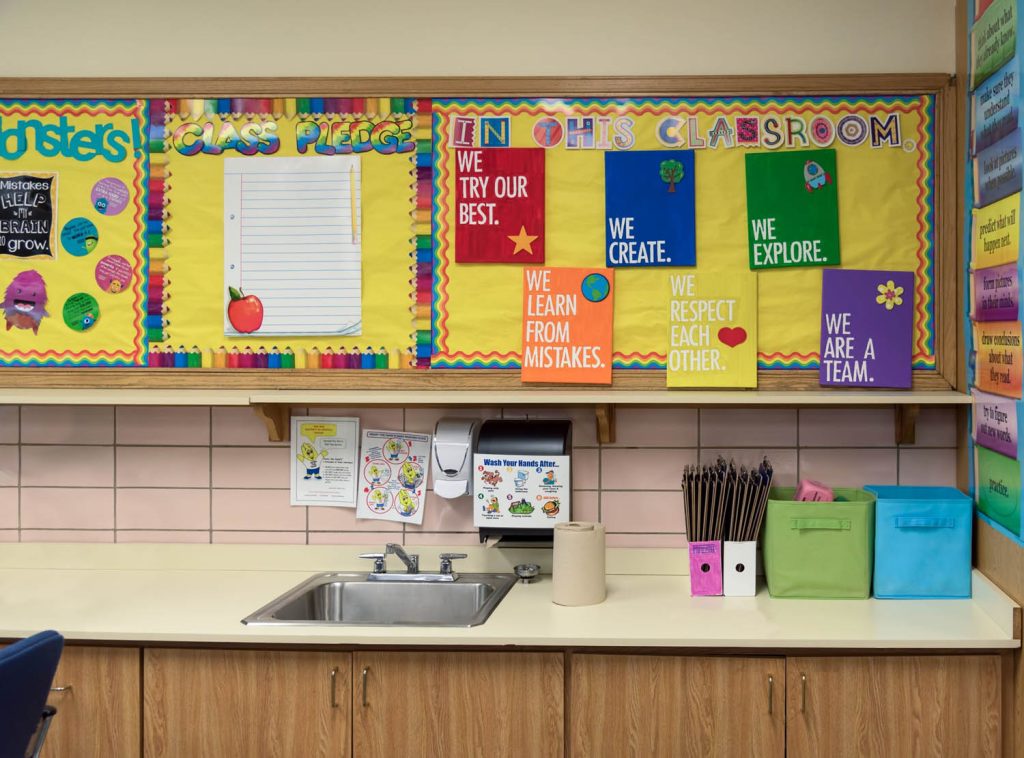
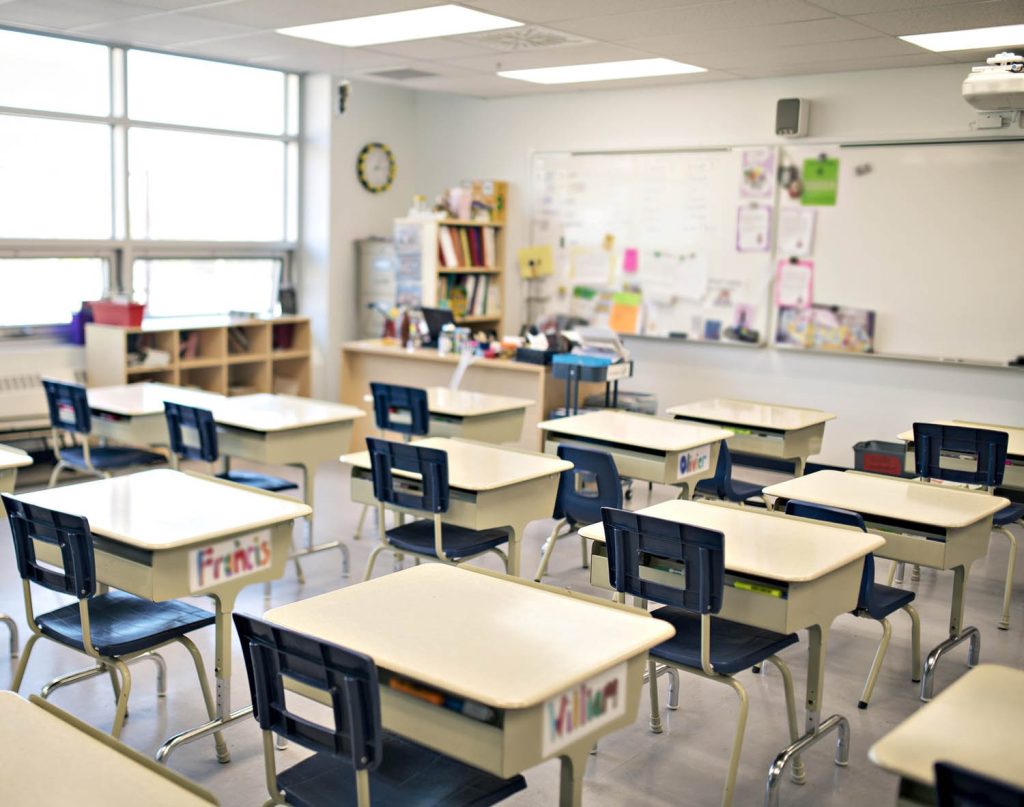
I often thought I’d remember exactly how my room was set up when I came back after summer break. After all, did I spend hundreds of hours staring at my room? No matter how much I thought I’d remember, I would always forget little details. That’s why I started taking pictures of things I wanted to repeat in my room the next year.
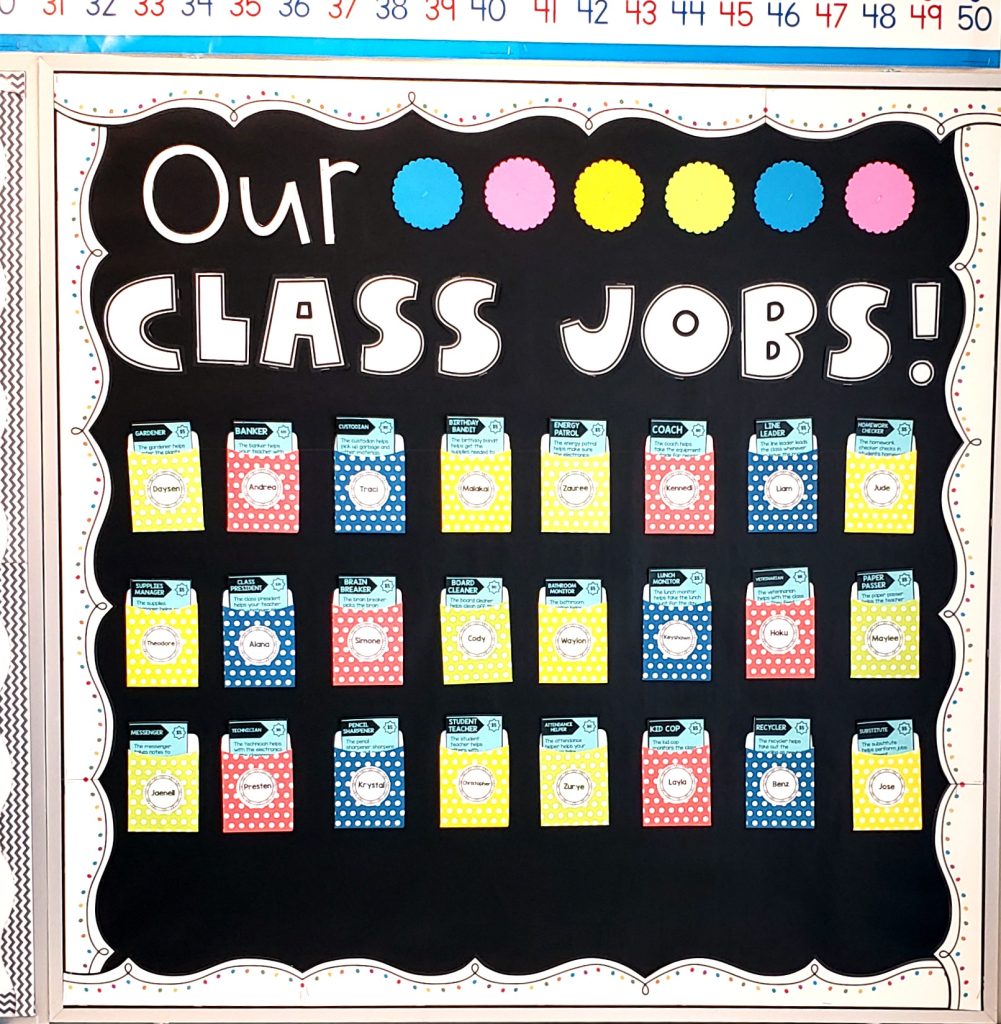
A quick snap of bulletin boards, desk arrangements, supply storage, and material organization will save time at the beginning of the next year. All you need to do is pull up your pictures and begin putting your room back together!
That’s it!
By following this 8-step system, you’ll be able to effectively pack up your classroom in a way that saves times, stress, and energy. You’ll also feel more prepared at the beginning of the next school year.
Again, if you want to editable checklists and packing labels, click on any image in this post or click here to download.
What tips do you have for packing up your classroom?